Sharing files with ExchangeDefender WFS
ExchangeDefender launched the new release of Web File Server (WFS), formerly known as Web File Sharing. Our new release is more secure, more efficient, and delivers far more productivity through tons of new features. Today, I’m going to show you how to share a new library.
First, go to https://wfs.exchangedefender.com. Everything you send through this site is encrypted (as are backups, disks, passwords, etc).
Click on Libraries > Create New Library.
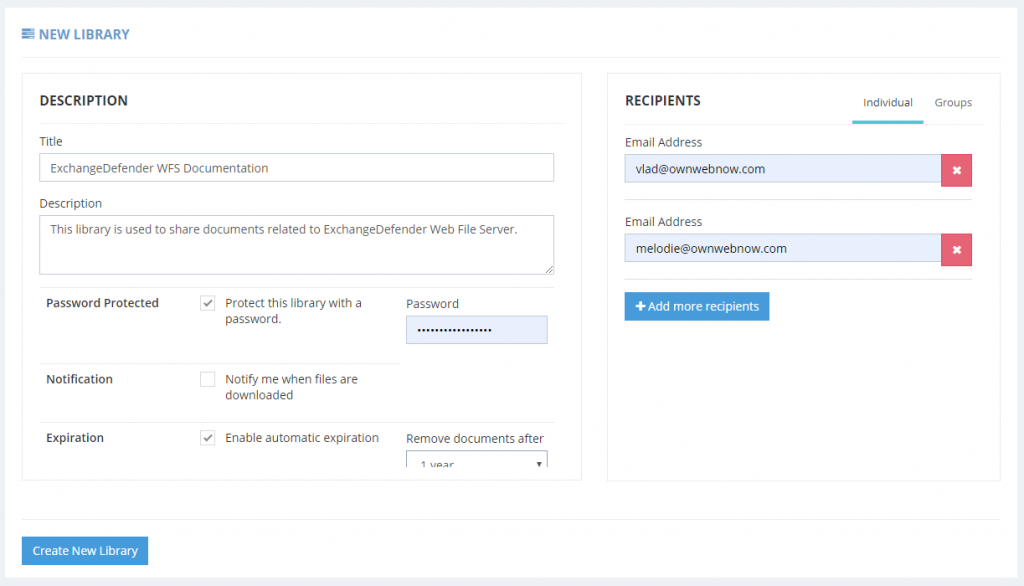
Pick a title, description and add a few email addresses of folks you’d like to share files with (or set up a group). You can also password protect the library (recommended) as well as setup automatic expiration if your corporate policy requires you to nuke any company files in the cloud after a certain amount of time.
Click on Create Library. Congratulations, your library is now online and your recipients will get an email (or two, if password protected) inviting them to share files.
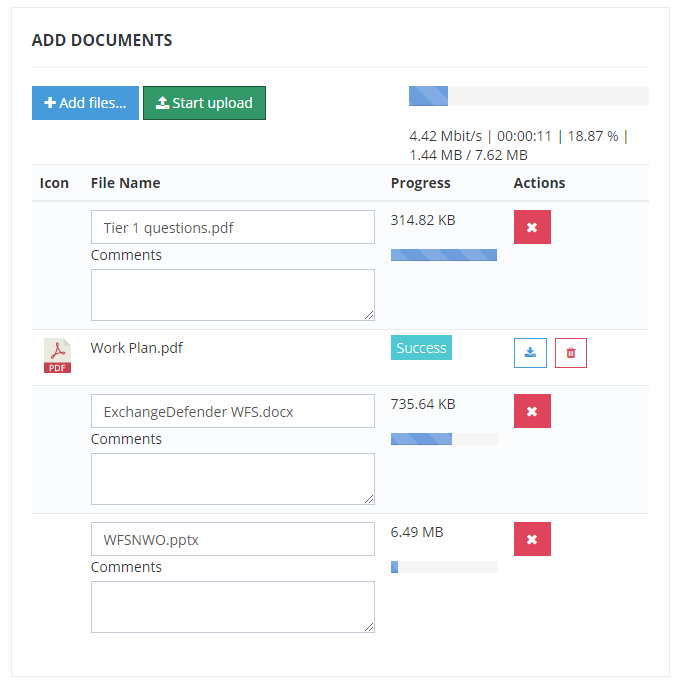
Now it’s time to add files. Click on +Add files.. and select as many files as you wish by either selecting them with your mouse or hold Ctrl down as you click on them (for the moment the uploads are capped at 250Mb/file but you can upload as many files as you wish). Provide any comments you wish (to make it easier for folks to see what is what without having to download everything) and click on Start upload.

That’s all. Once the files have been uploaded everyone has access to them. Your clients can upload changes or new files (if permitted), and you can add more files to the library at any time. Works on the desktop as well as on any mobile device.
It’s that simple. For more info an in-depth explanation of all the options, please download the manual.