Documentation
LiveArchive User Guide
ExchangeDefender Live Archive is an enterprise-grade email continuity service that lets you resume work after a service interruption, or other technical malfunction.
LiveArchive User Guide

ExchangeDefender Live Archive is an email continuity service that offers businesses email outage protection by constantly archiving your sent and received mail. LiveArchive is primarily designed to allow the business to continue communicating when the internal IT infrastructure becomes unavailable.
How to Access
To access Live Archive, simply visit www.livearchive.us and login using your ExchangeDefender Admin credentials. You can also access Live Archive by logging into admin.exchangedefender.com (user level) >Quick launch > Live Archive.
Enabling Live Archive
Navigate to admin.exchangedefender.com and login (please login at domain level), select Accounts > Configuration > Mail Delivery > Feature > Enable
Reset Password
** Your Live Archive password is the same as your Admin Portal password.
Live Archive Mailbox

Your Live Archive inbox is always on, and always archiving your mail. The mailbox has the following features:
- Filter by read/unread
- Mark emails as read/unread
- Star emails (mark as important)
- Delete emails
- Move emails to other folders
- Search emails with your own queries using the search bar (We need to test this a little bit further and read the entire documentation to make sure how to build those queries)
- See your folders
- See your emails
Create a New Folder
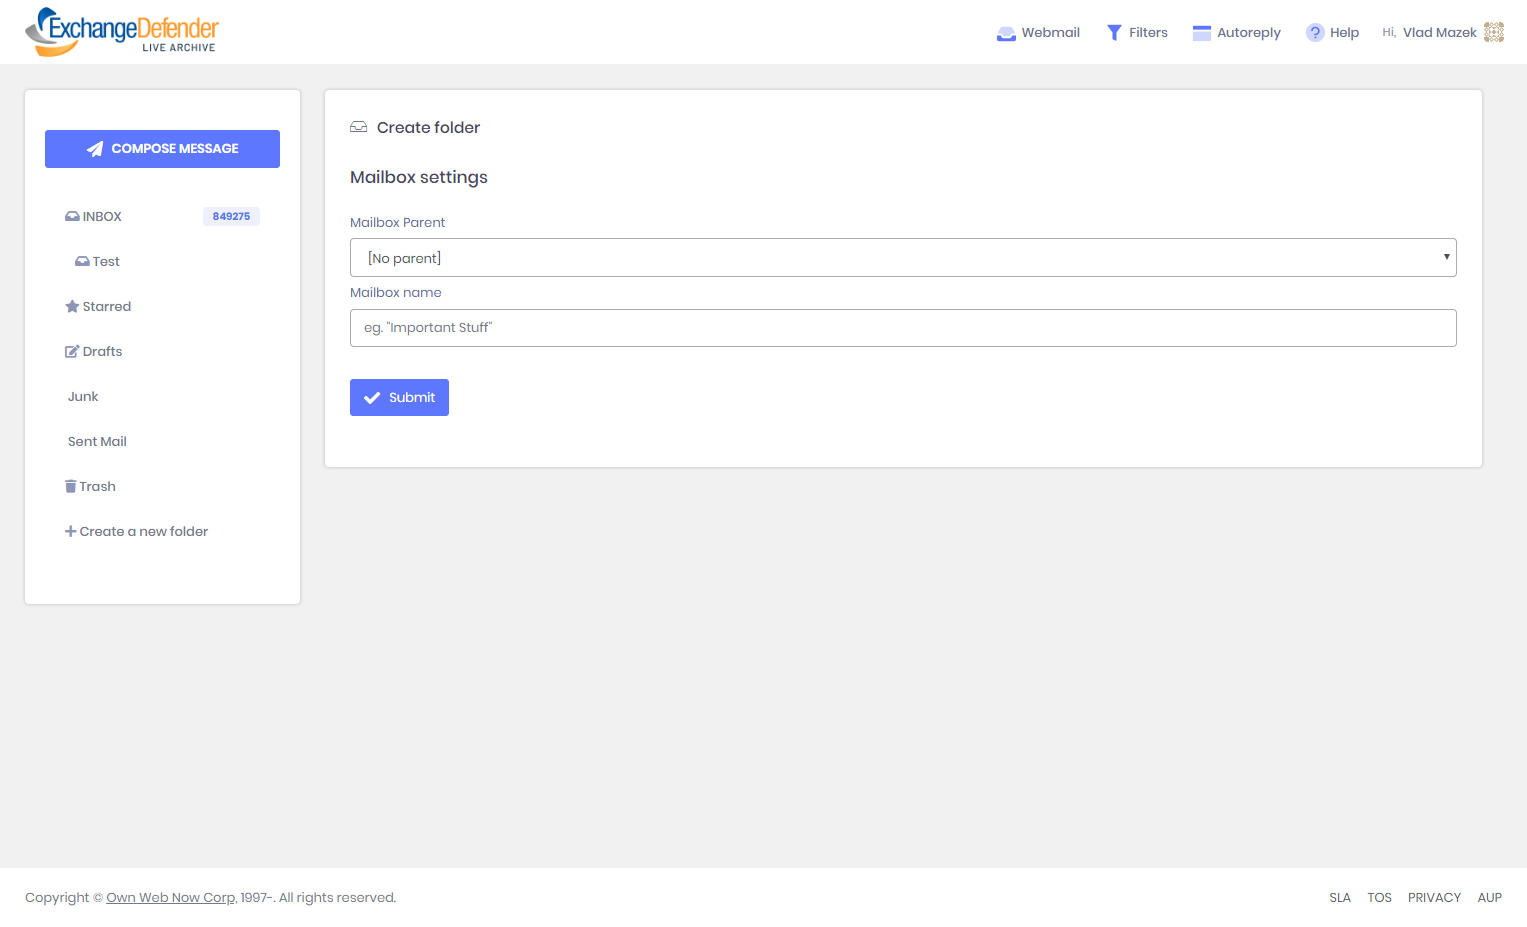
To create a new folder for your mailbox, simply click on the create a new folder button located in the menu. Once clicked, you will have the option to manage the mailbox settings for your new folder. Once completed, click submit to save.
Compose New Email
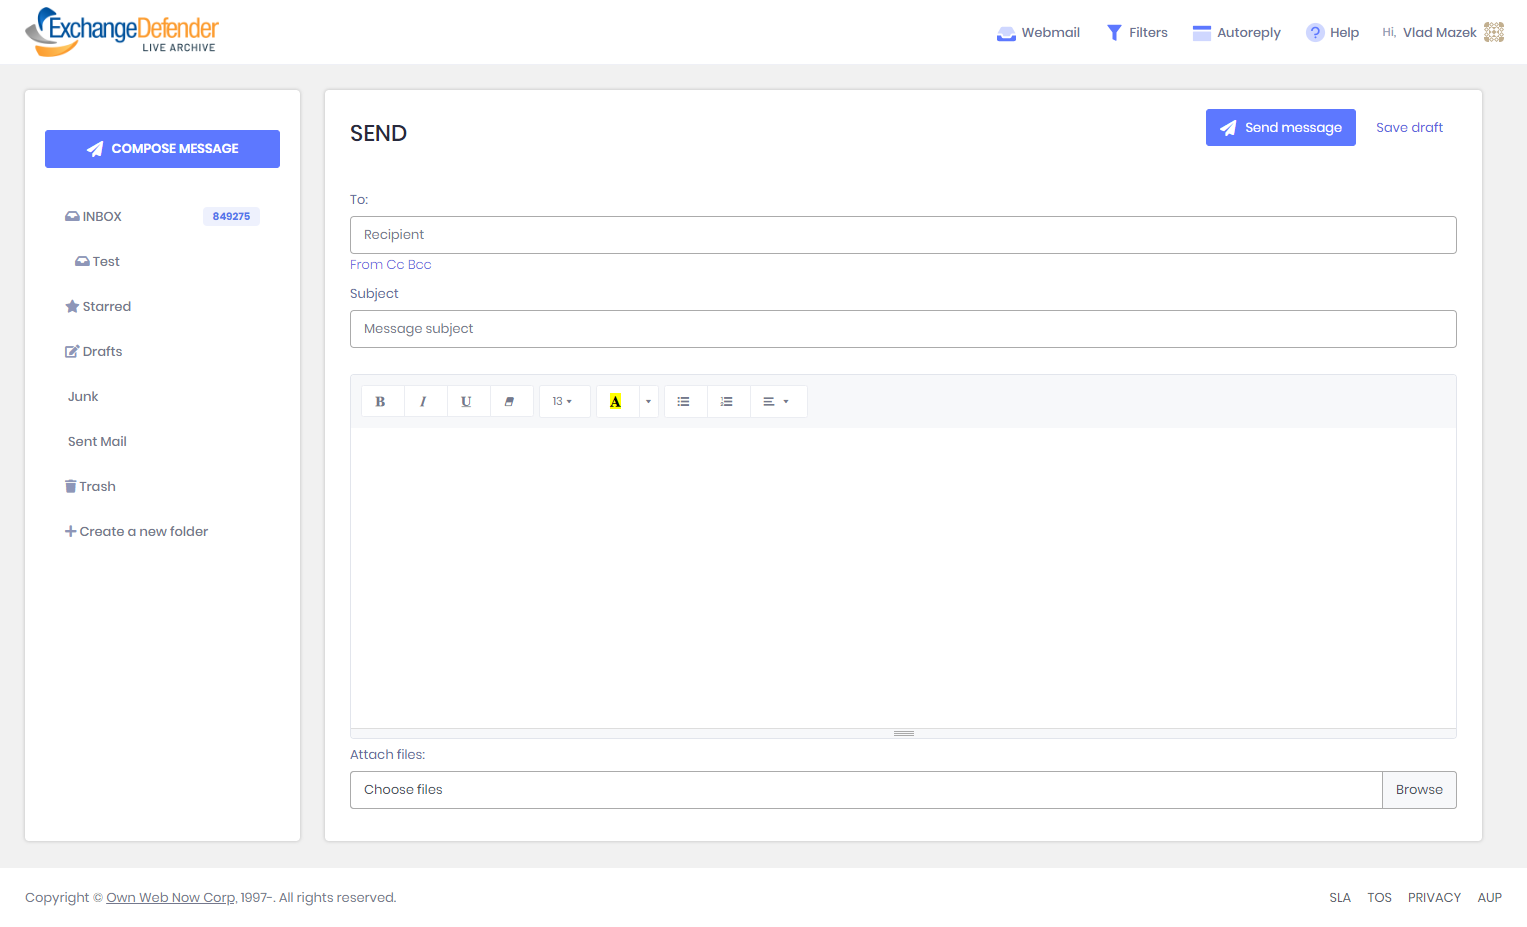
To send a new email, tap the blue compose new message button. You will be able to write a new message, attach files, save as draft, and also send HTML emails.
View Messages
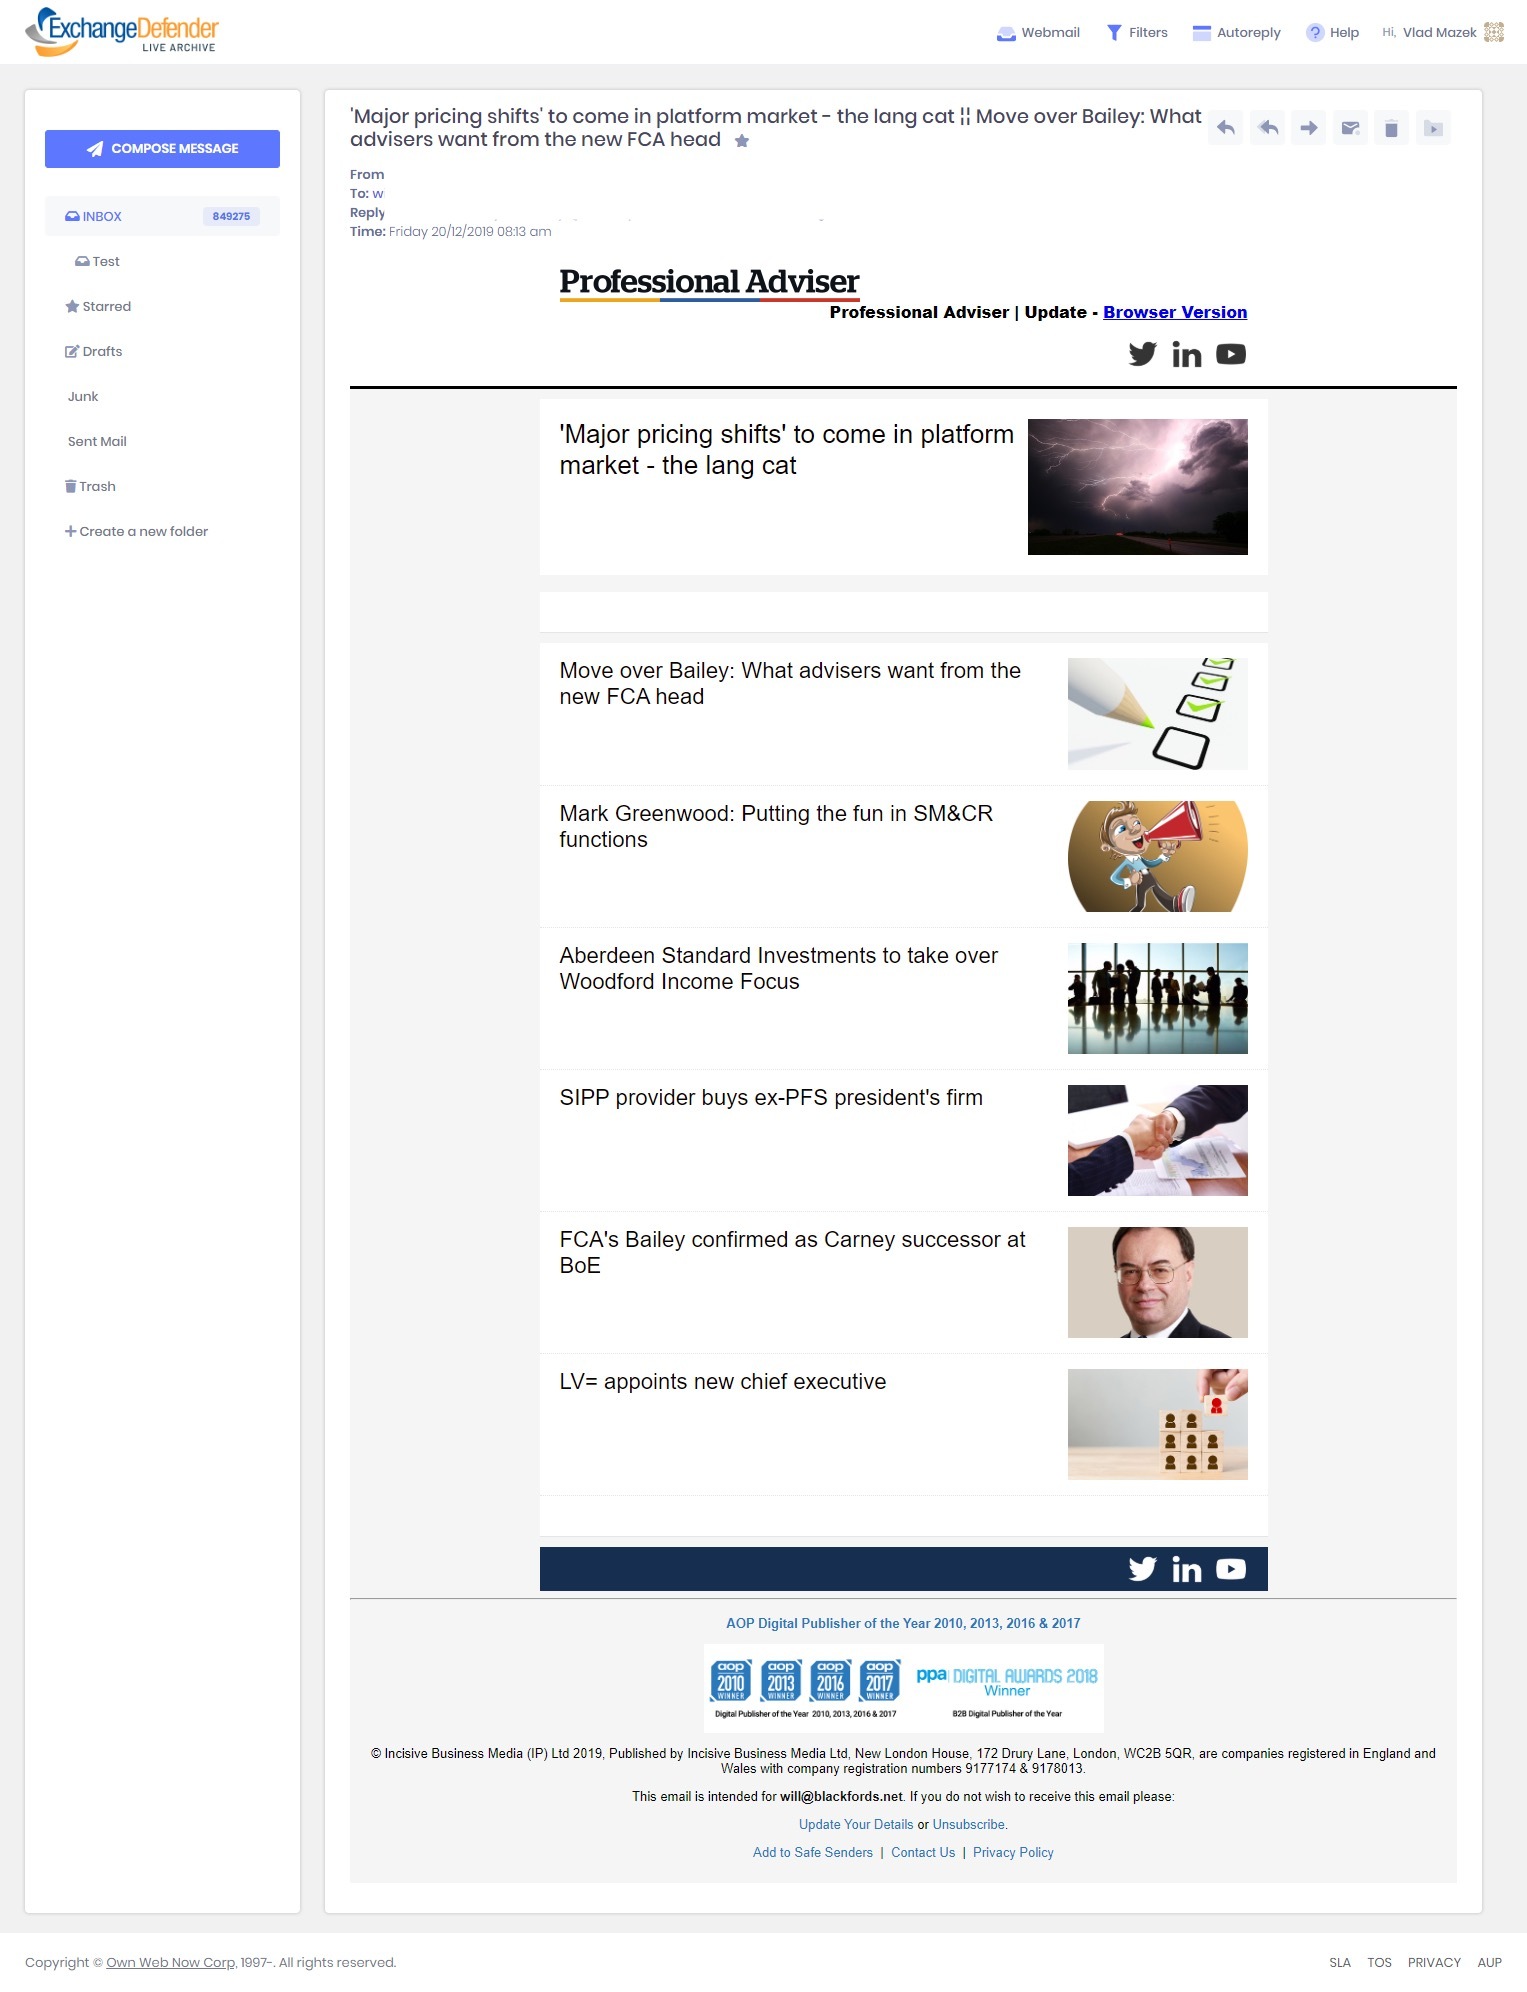
To view your messages, click on the specific message you would like to see from your inbox. With the messages, you are able to:
- See email headers
- Mark as important
- Render HTML emails
- Display all the back and forth emails (in case recipients reply to senders and vice versa... it'll look like a thread)
- Reply
- Reply to All
- Forward
- Mark as unread
- Delete
- Move to selected folder
Filter Settings
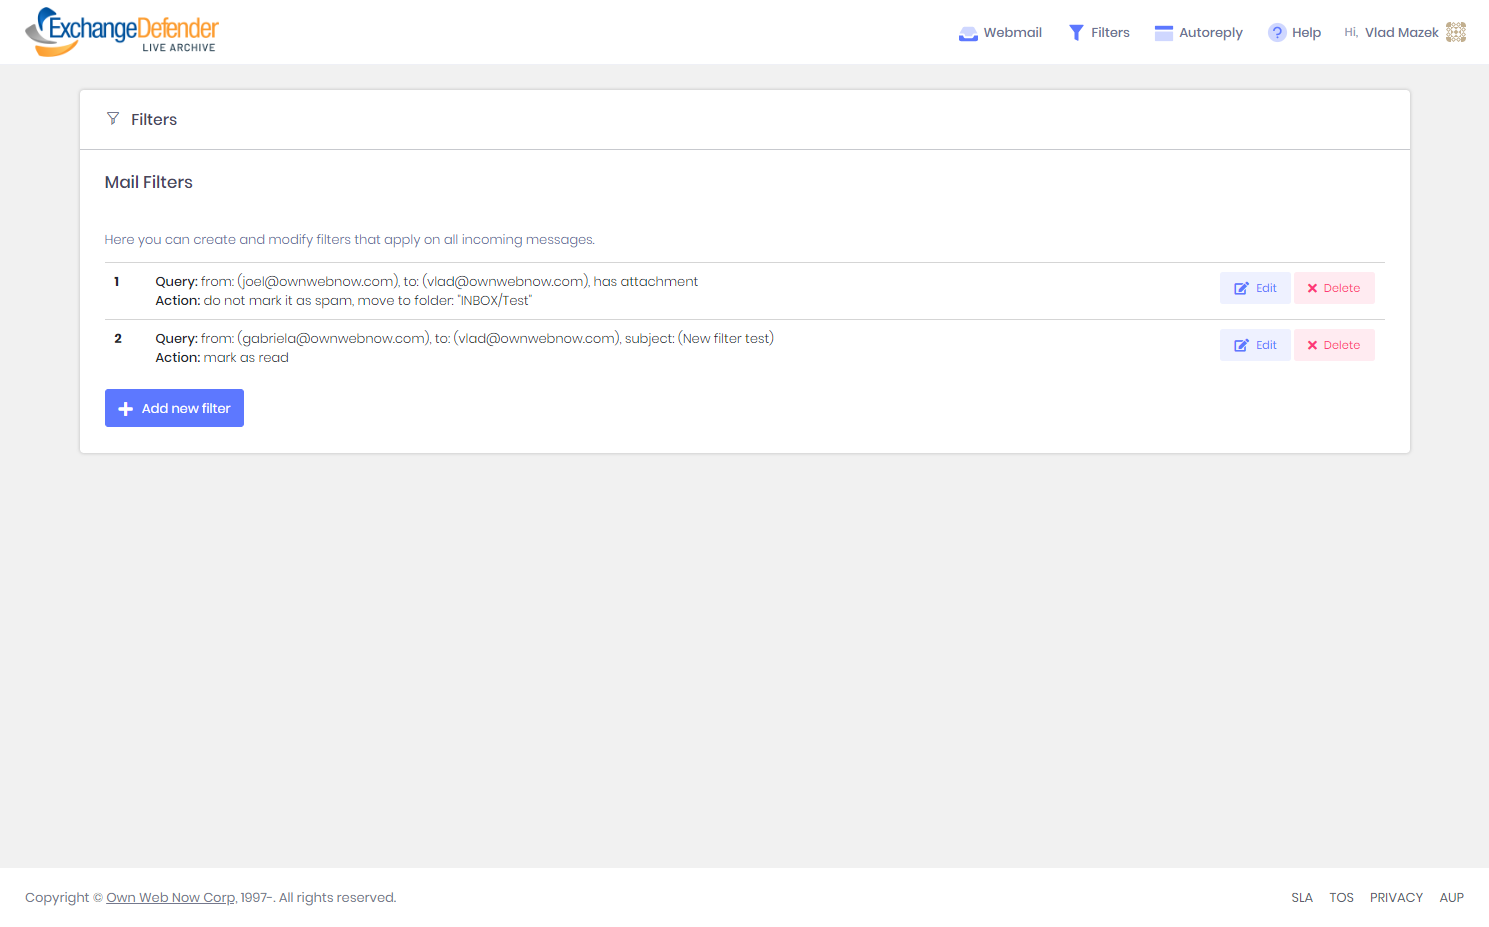
Live Archive offers you the ability to create, modify, or delete mail filters for all incoming messages.
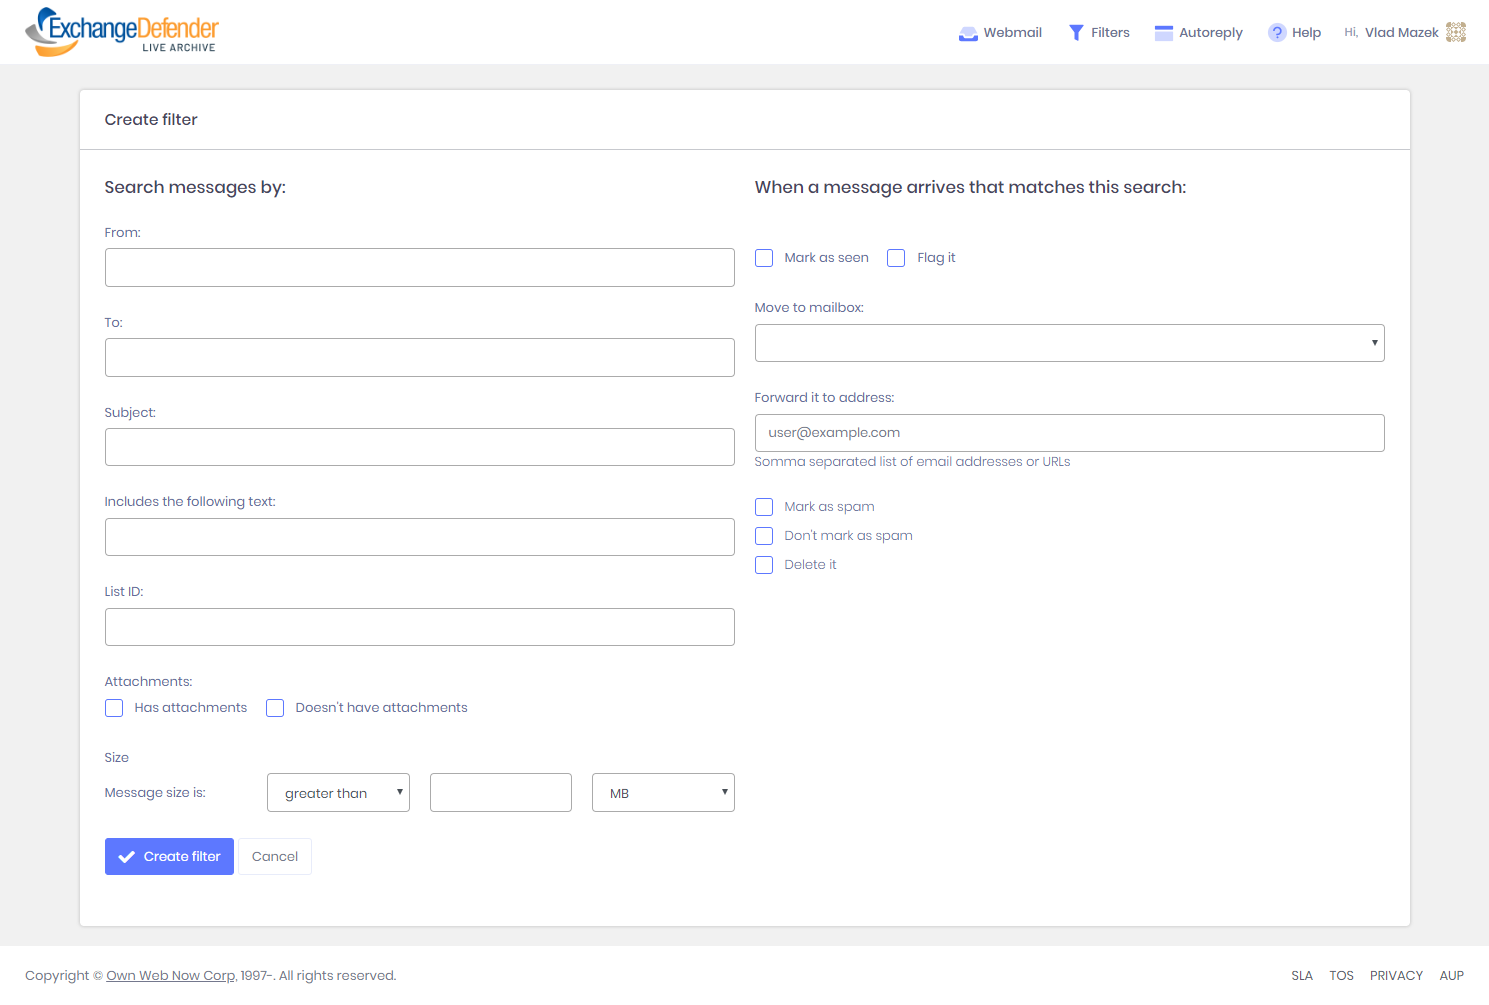
To create a new filter, simply click the filters tab at the top menu. After, click the Add new filter button to create a new filter.
Manage Autoreply
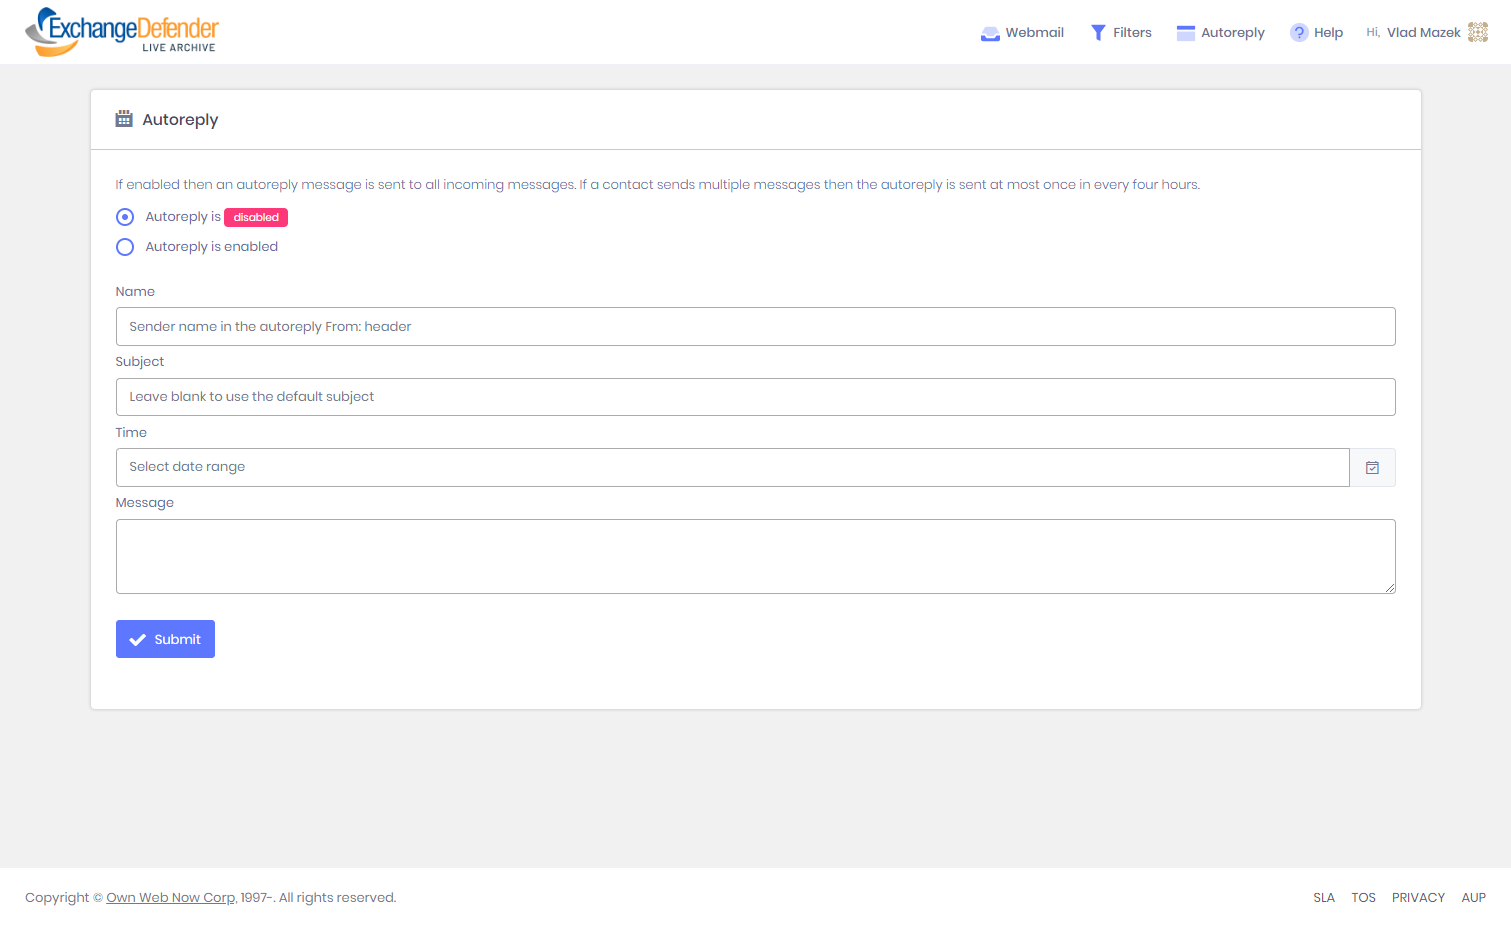
You can setup an auto-reply for your live archive messages. To access this feature, click the autoreply icon located at the top menu.
To enable, select the autoreply is enabled option, and enter your details for name, subject, time frame, and message. Once completed, click submit.
Account Profile Settings
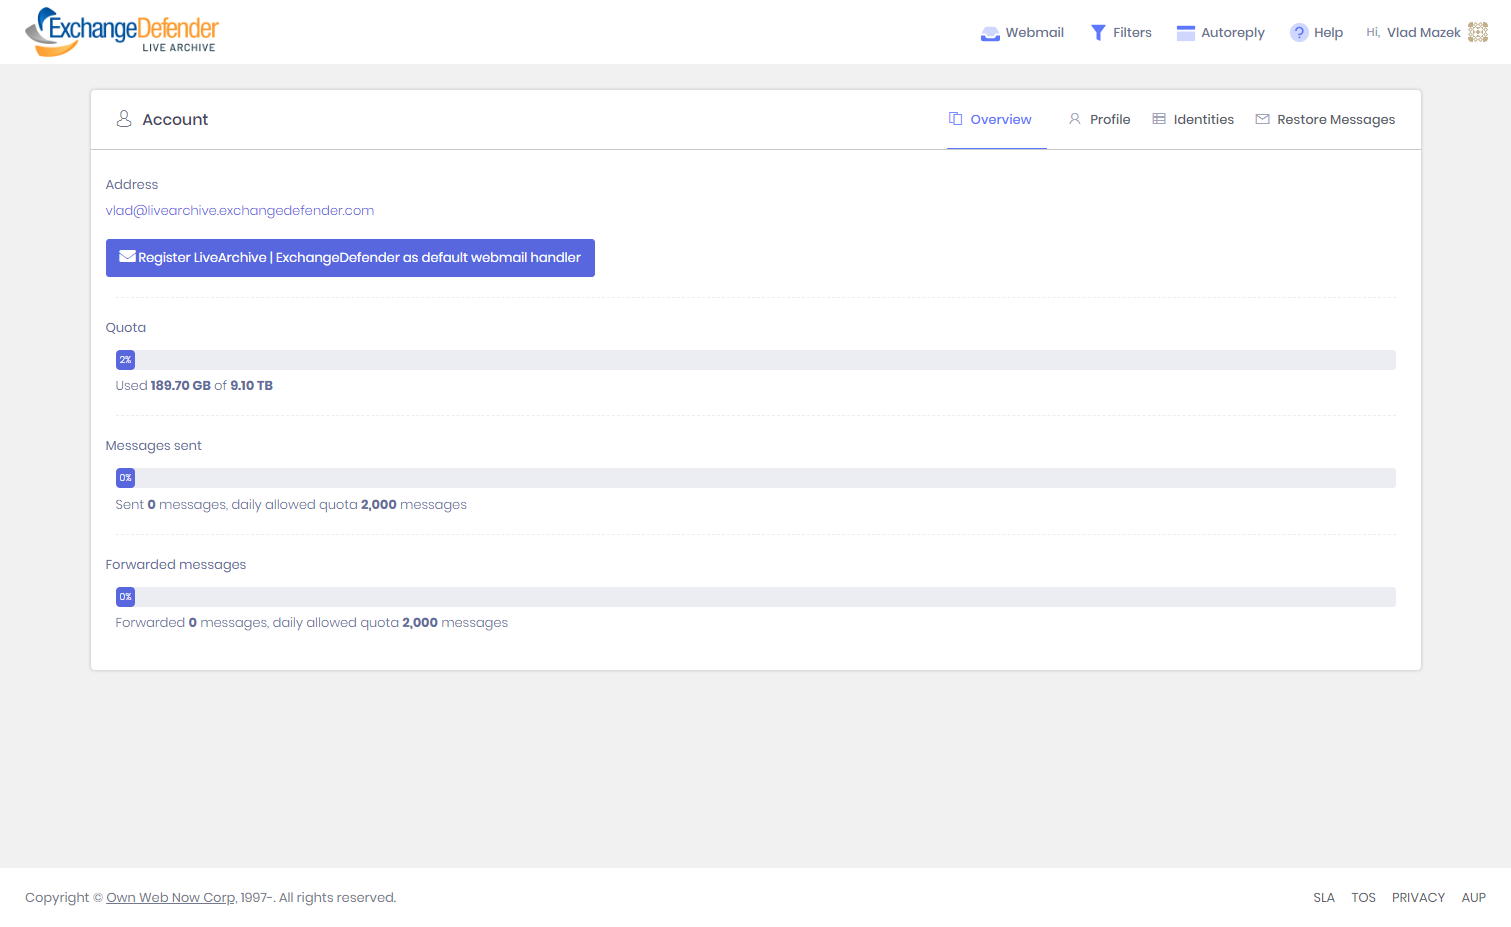
To access your profile information, click on your name located at the top menu. Here, you'll see the Overview section that gives you general information on mailbox quota, messages sent, and forwarded messages.
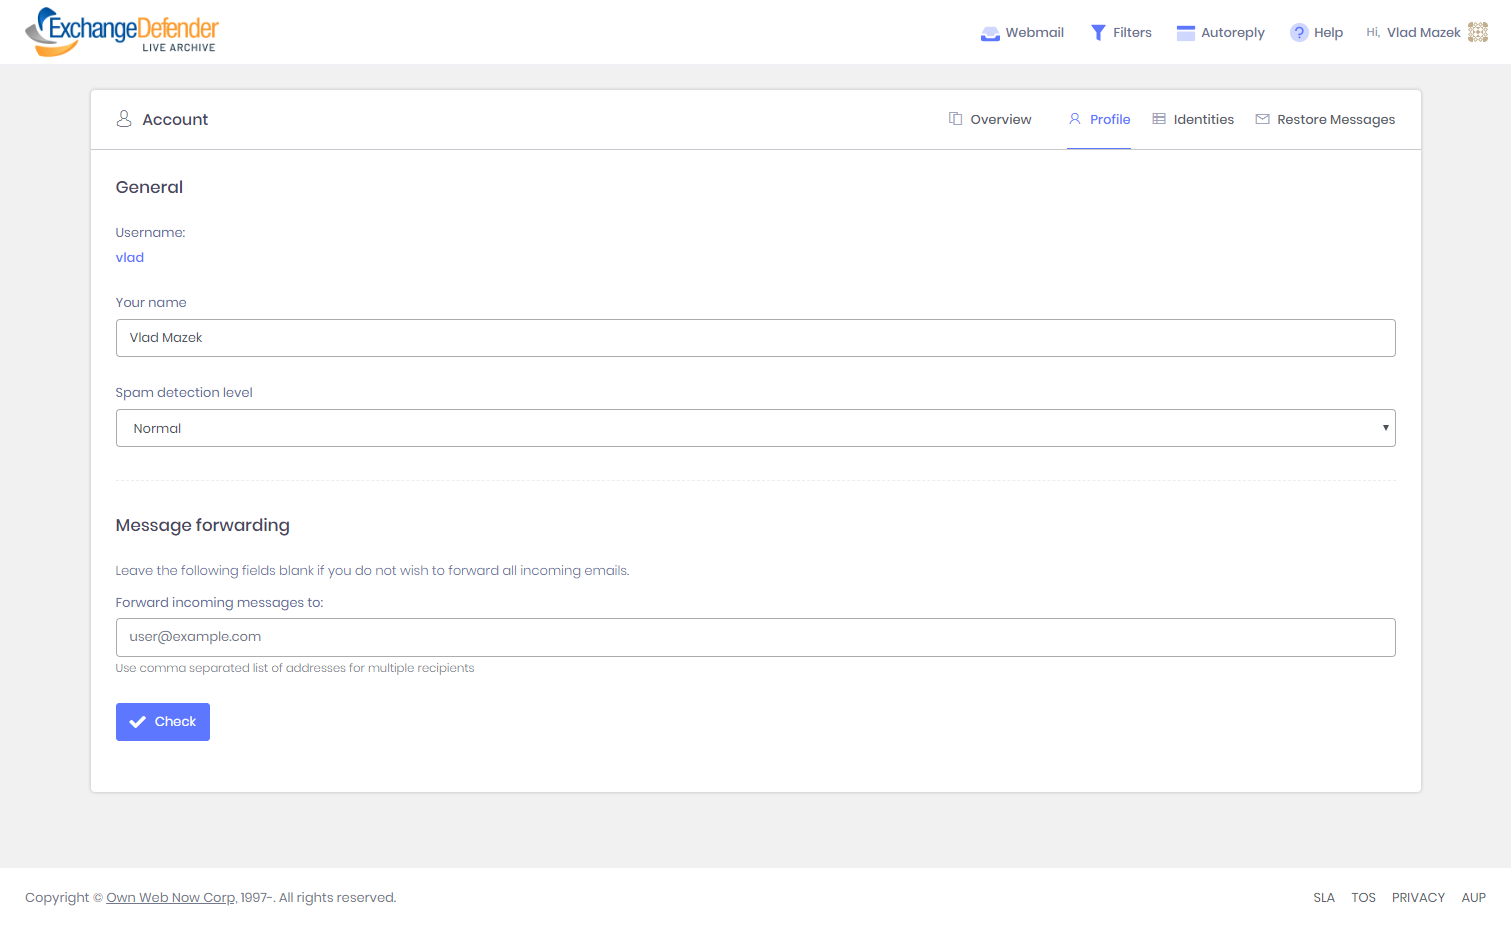
The Profile tab contains your general information like name and spam detection level. It also includes the option for message forwarding.
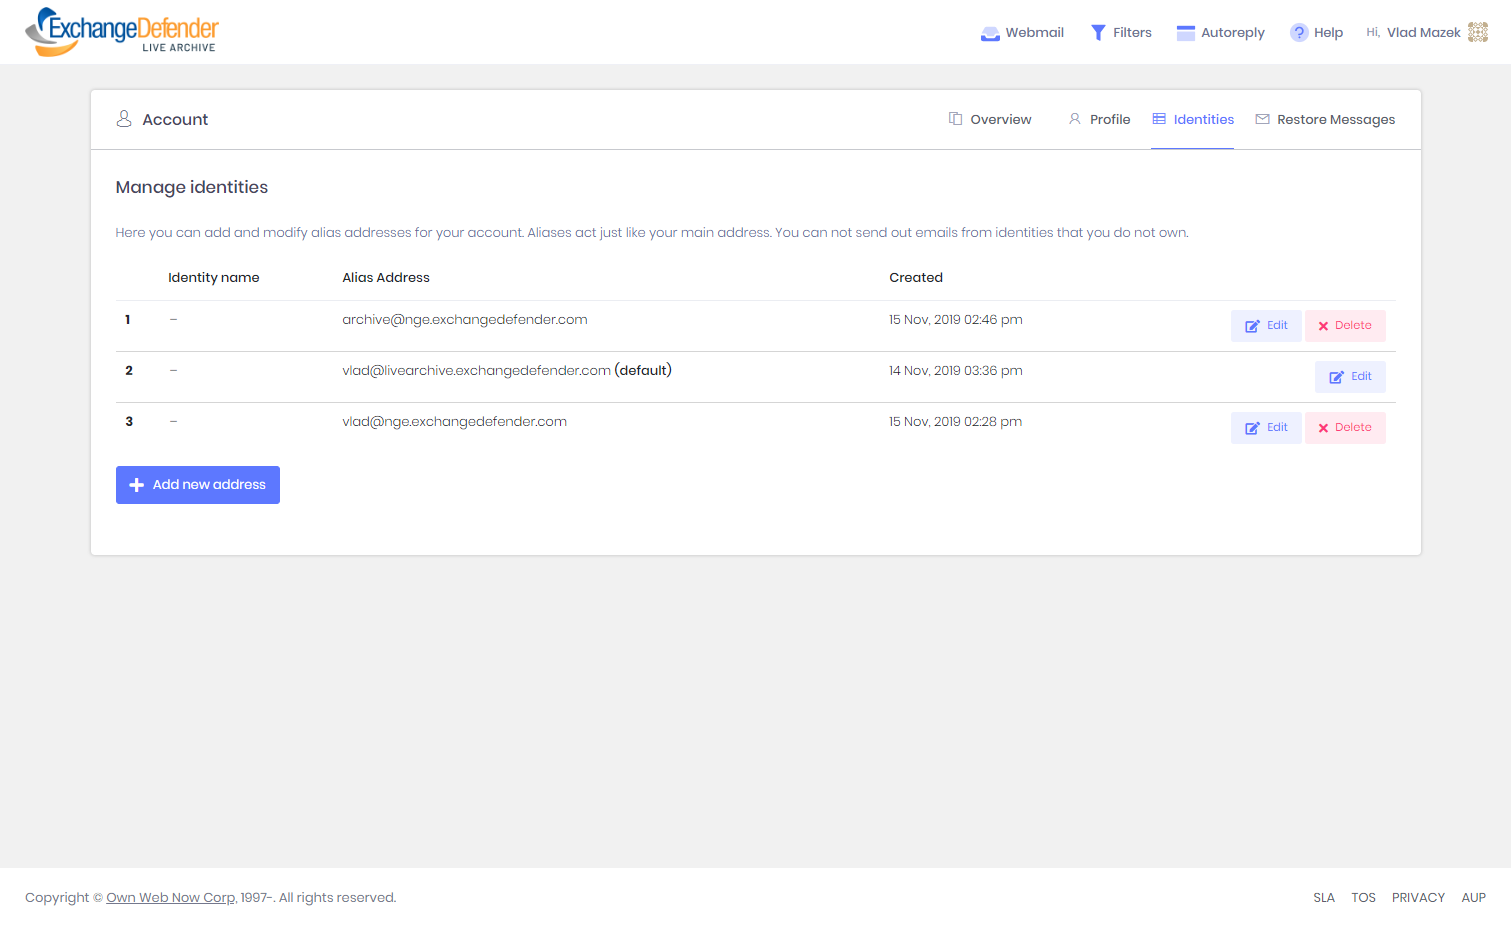
The Identities tab contains all of the alias addresses attached to your account. Here you can add and modify alias addresses for your account. Aliases act just like your actual email address.
Please note: You can not send emails from identities (aliases) that you do not own.
Restore Deleted Messages
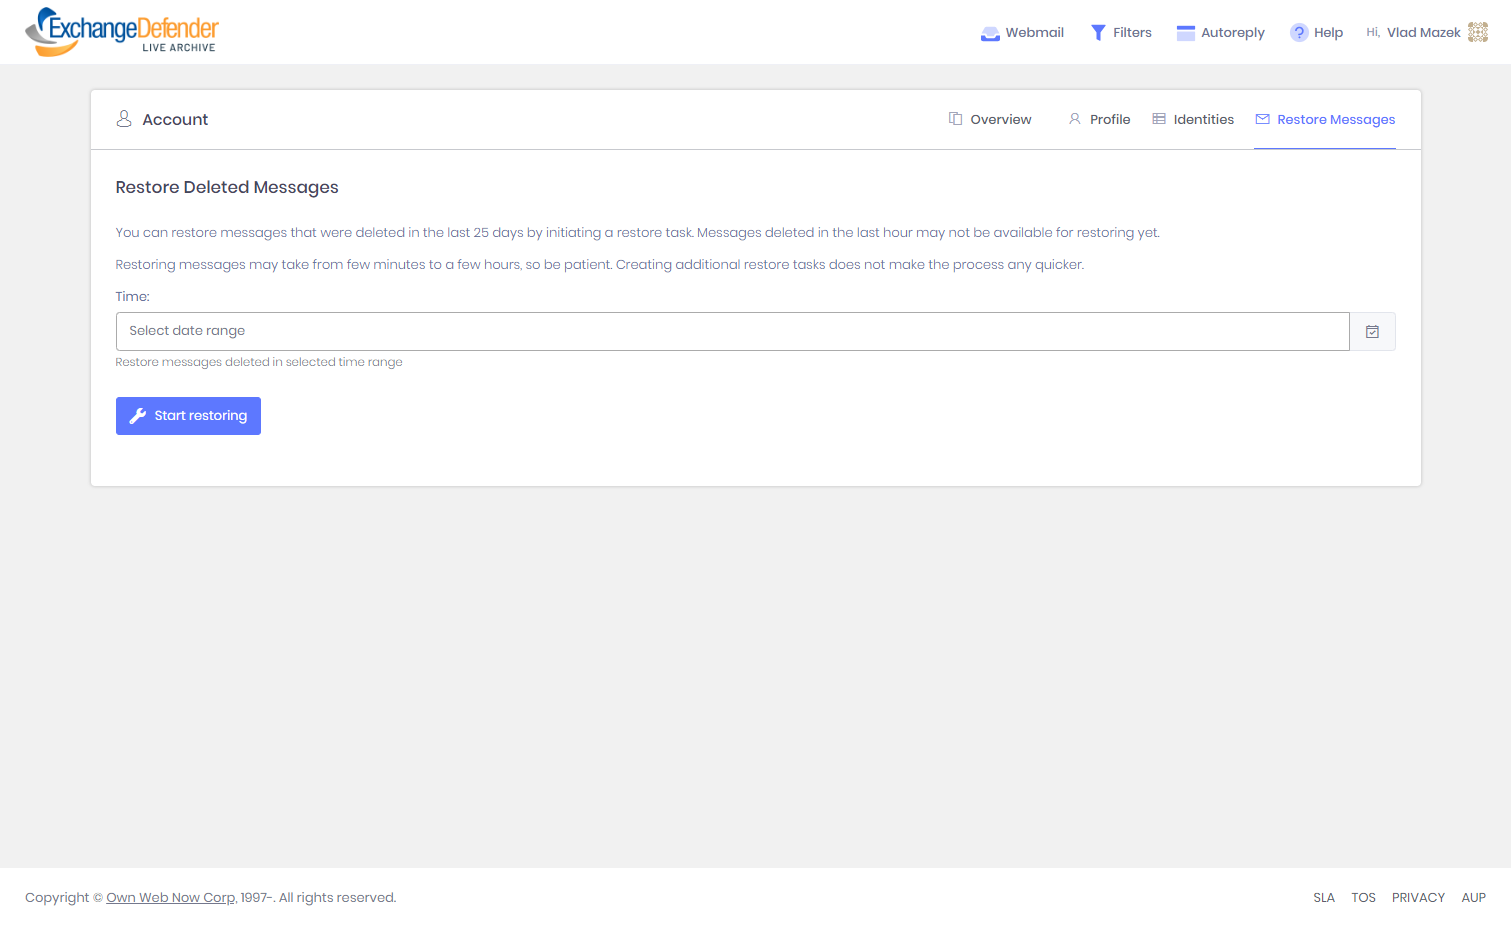
You can restore messages that were deleted in the last 25 days. Messages deleted within the past hour will not be available for restoring yet. Restoring messages make take up to a few hours.
To restore messages, select the date range, and click the start restoring button.